By the end of this chapter, you will be able to:
- describe what lung volume recruitment (LVR) is and why it is used
- demonstrate how to perform LVR for your child with a tracheostomy tube
What is lung volume recruitment (LVR)
Children who have a weak cough due to muscle weakness or a curve in their spine may benefit from lung volume recruitment (LVR).
LVR uses a special bag to help increase the amount of air that your child can breathe into their lungs with a voluntary breath. The LVR bag is squeezed during inhalation (breathing in) for a series of a few breaths to increase the total amount of air in the lungs. After the lungs are filled with air, your child breathes or coughs out.
Filling the lungs with more air allows your child to clear secretions more effectively. After several cycles of LVR, your child will find that breathing becomes easier, and their voice becomes stronger.
The LVR bag is a small portable setup that can be used while your child is on the go. Your child’s health-care provider will recommend the appropriate pulmonary clearance therapy for your child.
What equipment do I need to do LVR for my child?
- resuscitation bag (disposable or reusable)
- one-way valve
- extension (flex) tube
- tracheostomy adaptor
You can buy this equipment from your medical vendor.

Precautions
- The LVR bag cannot be used for resuscitation.
- Although an LVR bag looks similar to a manual resuscitation bag, there are important differences. The LVR bag has a one-way valve which helps to keep air in the lungs to support breath stacking for LVR therapy. Clearly label both your LVR bag and your manual resuscitation bag to make sure you do not use the wrong one.

How do I do LVR for my child?
-

Have your child sit comfortably. If they cannot sit up, providing therapy while lying down can be done.
-

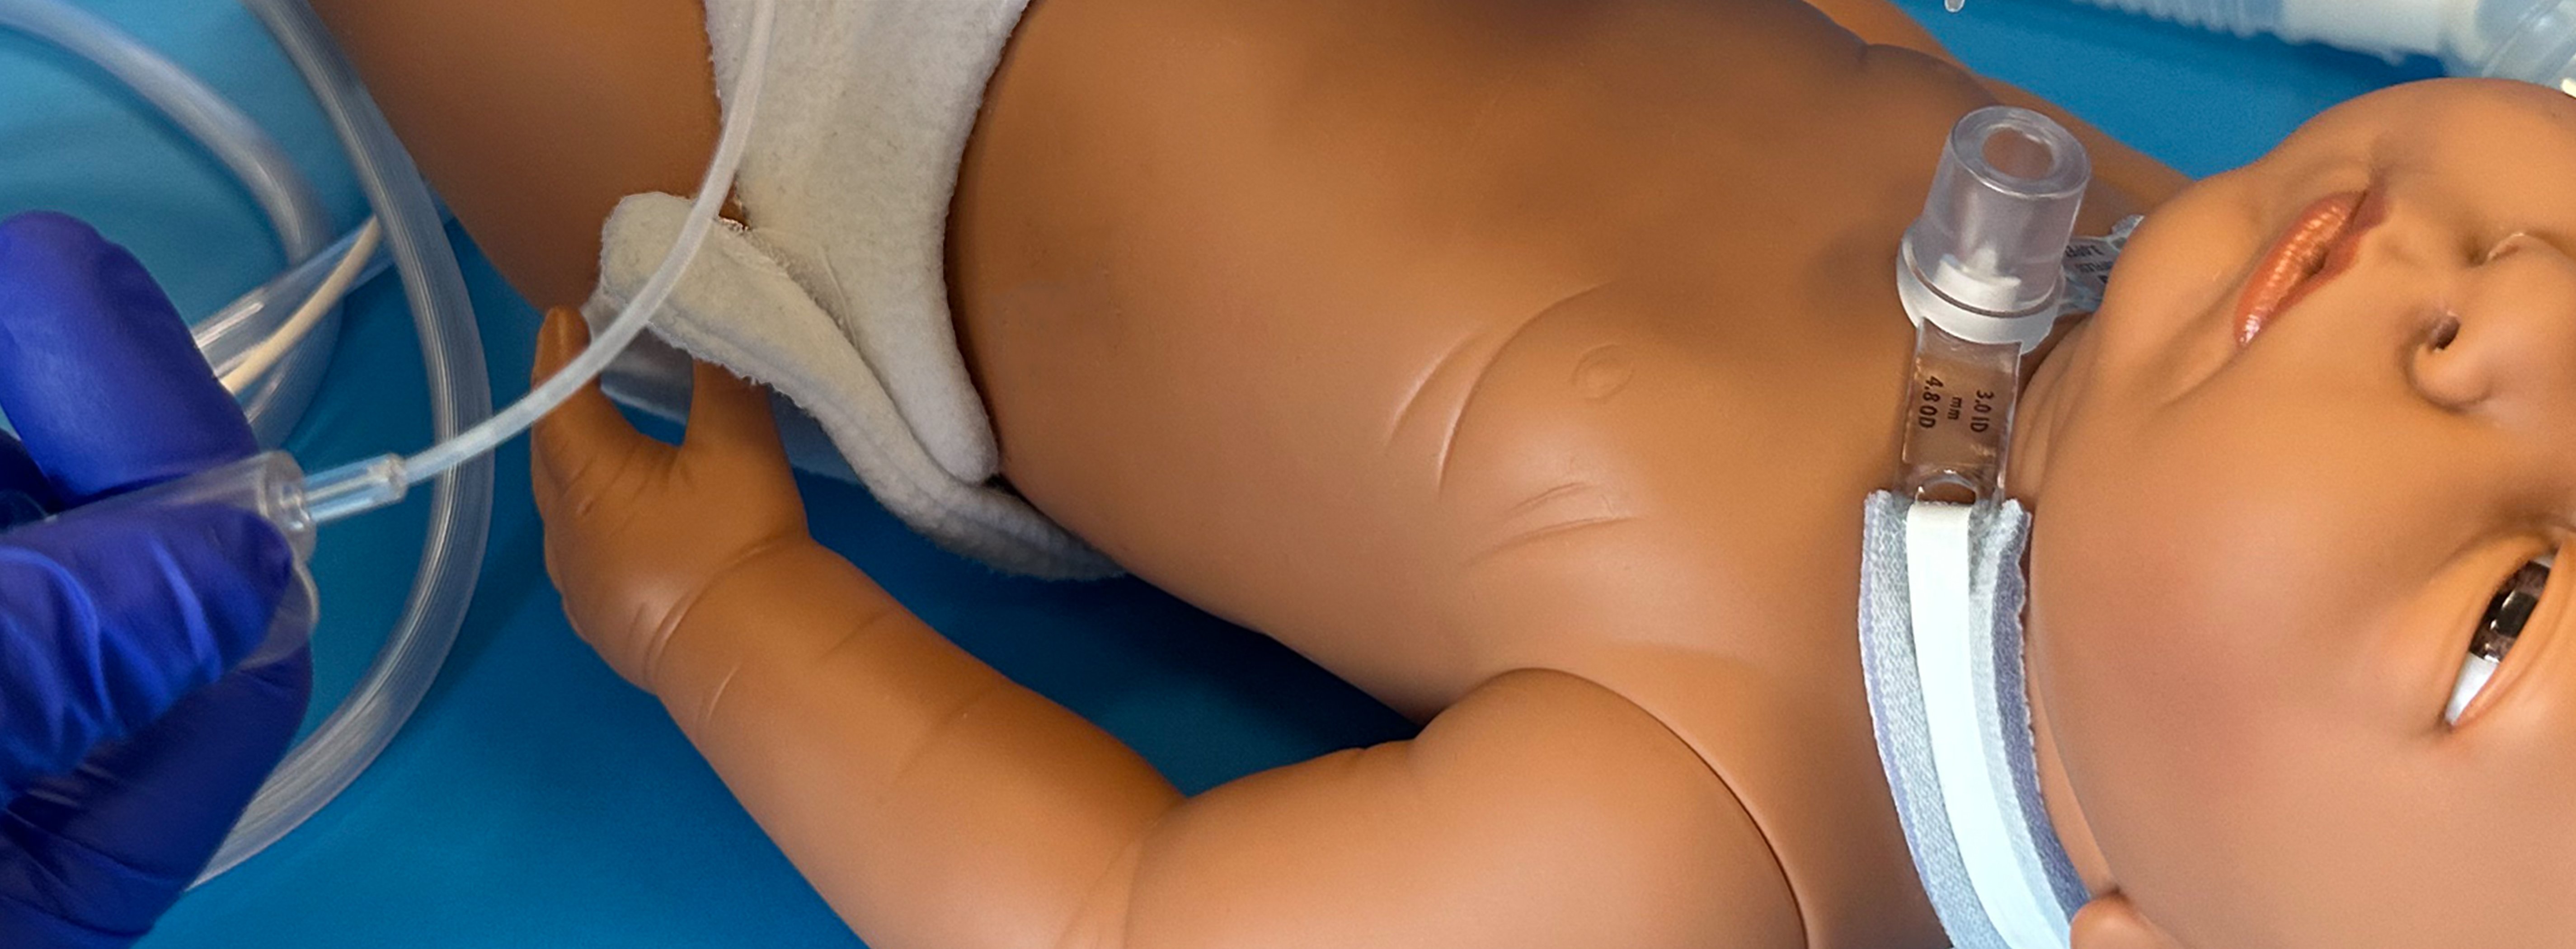
Attach the LVR bag to the tracheostomy using the tracheostomy adaptor.
-


Notice the blue arrow indicating the child is breathing in. As the child breathes in, slowly squeeze the bag. Look at your child’s chest and slowly squeeze the bag a small amount as they breathe in (chest rises). Ask them to hold that breath (if they are able). It is understood that a baby or young child will not be able to do this.
-

Notice the blue arrow is longer now, indicating the child is breath stacking. Encourage your child to breathe in the air as you squeeze the bag a second time with a small amount of air. Ask them to hold that breath.
-

Notice the blue arrow is even longer now, indicating the child is breath stacking. Again, ask your child to try to keep breathing in more air as you squeeze the bag a little bit more a third time. Ask them to hold that breath.
-

Your child should fill their lungs as full as possible and feel a stretch across the front of their chest.
-


Have your child hold in the air for as long as possible before breathing out. Remove the LVR before your child coughs out.
Encourage them to actively cough out instead of just exhaling out. Each child will tolerate a different number of stacked breaths before they cough out. Remove the LVR before your child coughs out. - Steps 4 to 8 are one cycle. Each time you do a session of LVR, complete three to five cycles or as many as prescribed by your child’s health-care provider.


LVR is done the same way if using a mask or a mouthpiece. When using a mask or mouthpiece, keep a good seal to ensure adequate filling of the lungs.

LVR can also be used along with a manual assisted cough. However, regular LVR will benefit your child even if it is not used with the manual assisted cough technique. Your child’s health-care team will instruct you on how to perform manually assisted coughs.
How often should I do LVR for my child?
- It is recommended to do LVR twice a day and do further sessions only as needed.
- You will need to do LVR more frequently when your child is unwell.
Precaution
- If your child experiences dizziness, chest discomfort or pain, stop the LVR and have them rest.